
Last updated November 15, 2026
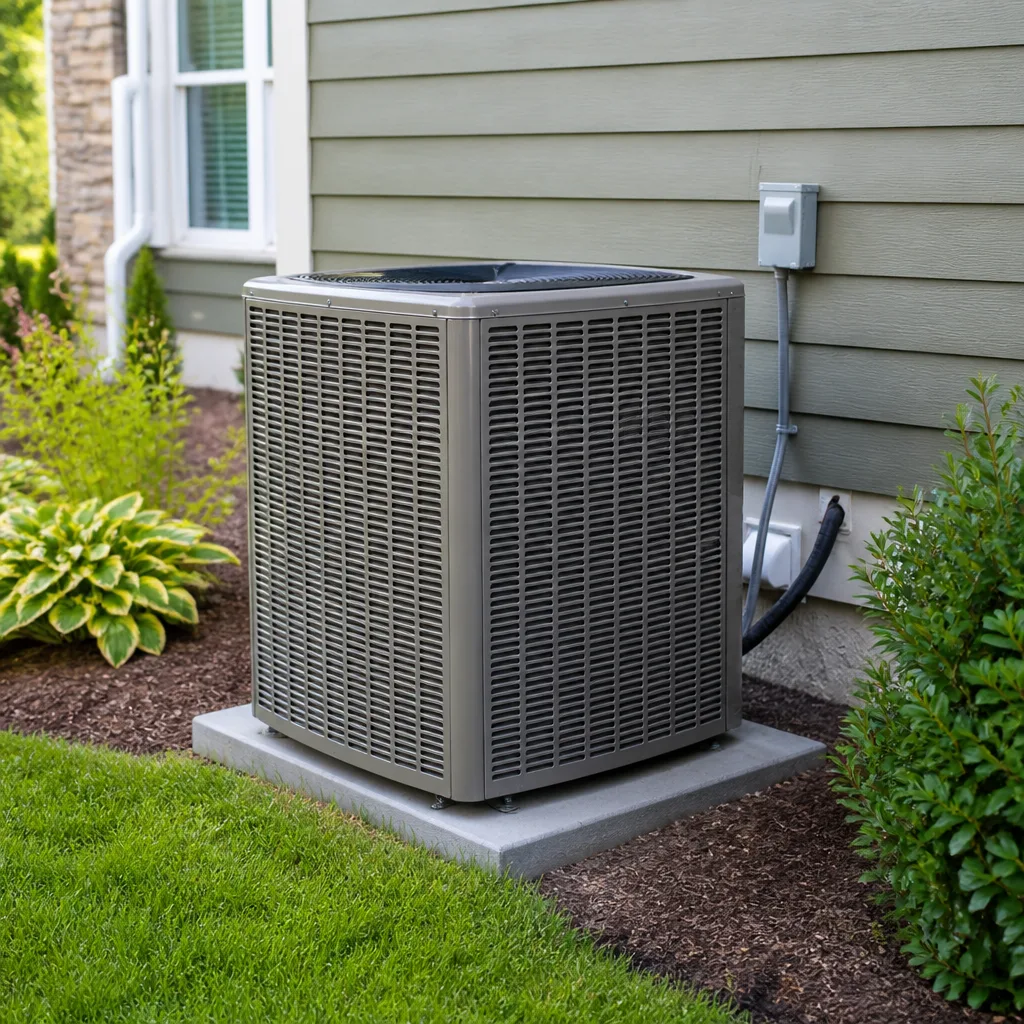 AC repair
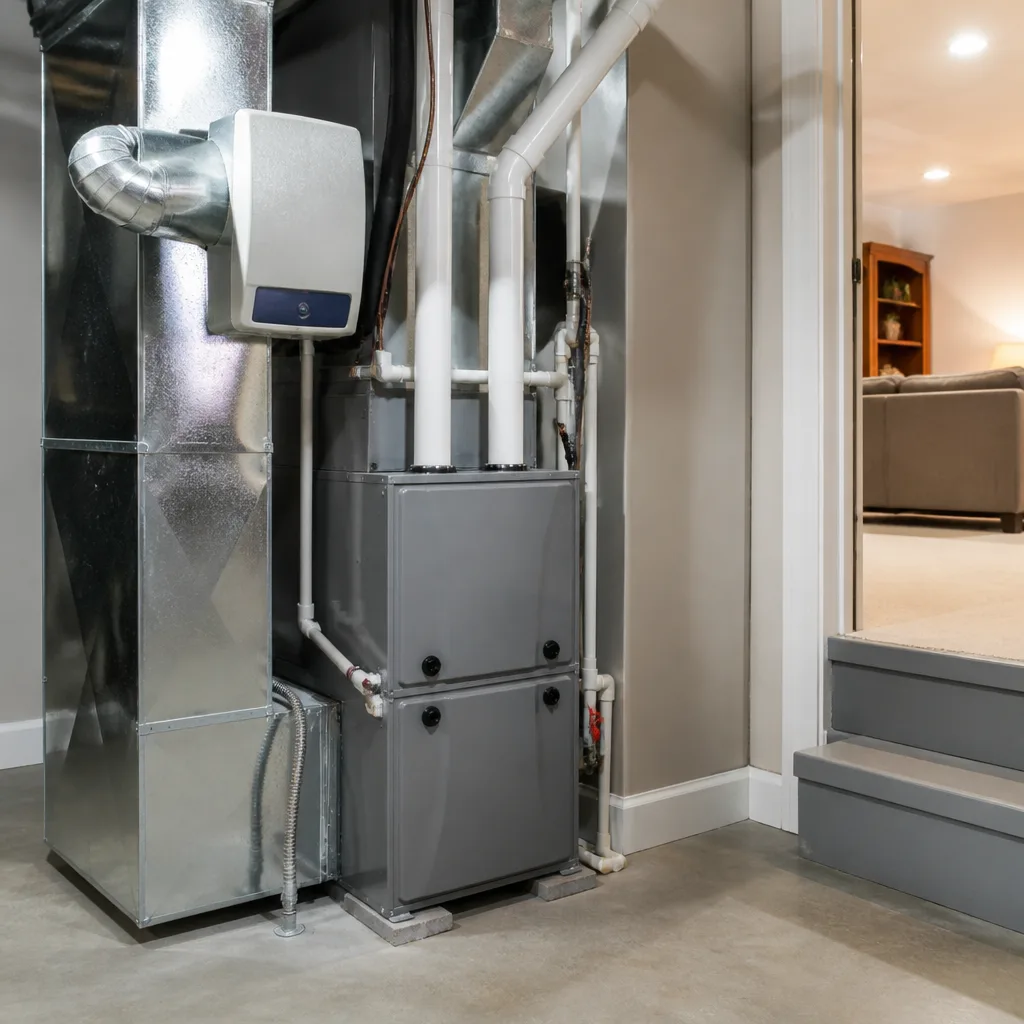 Furnace & heating
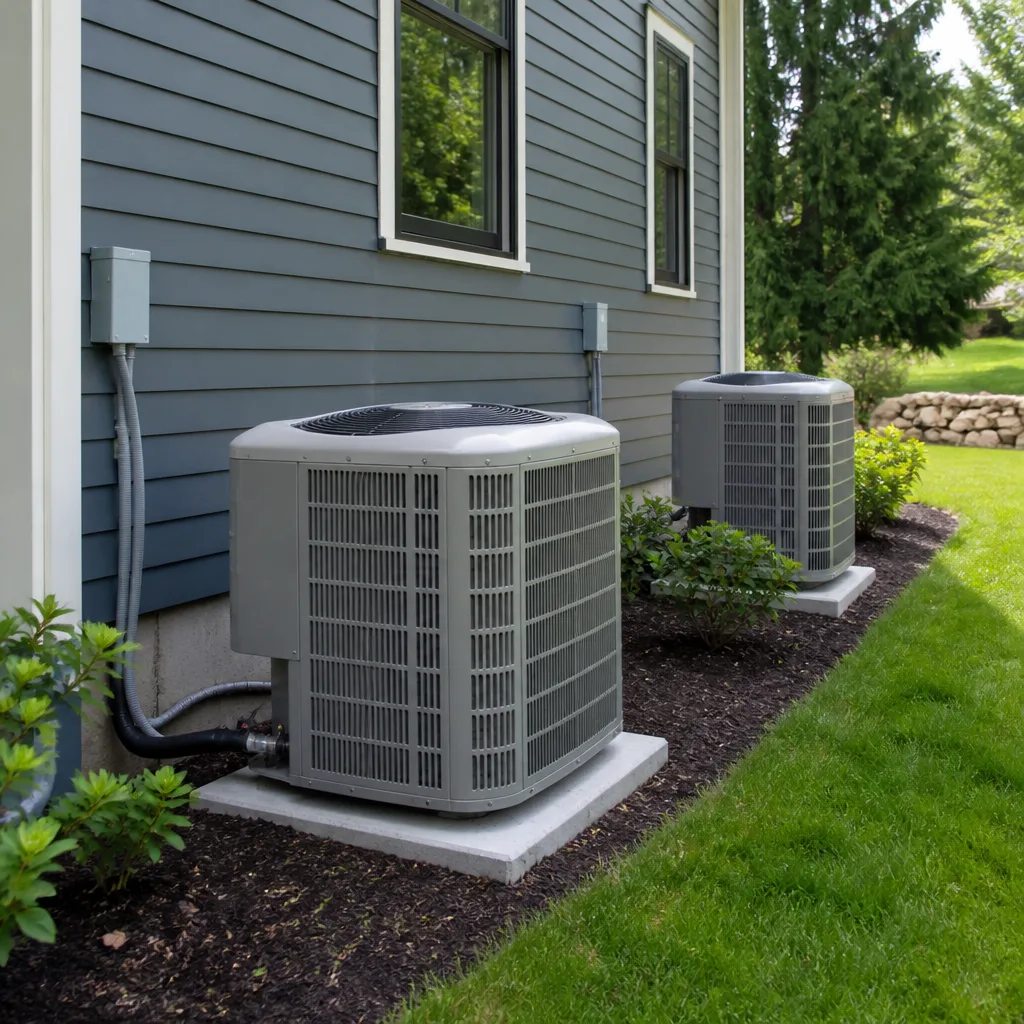 Heat pumps
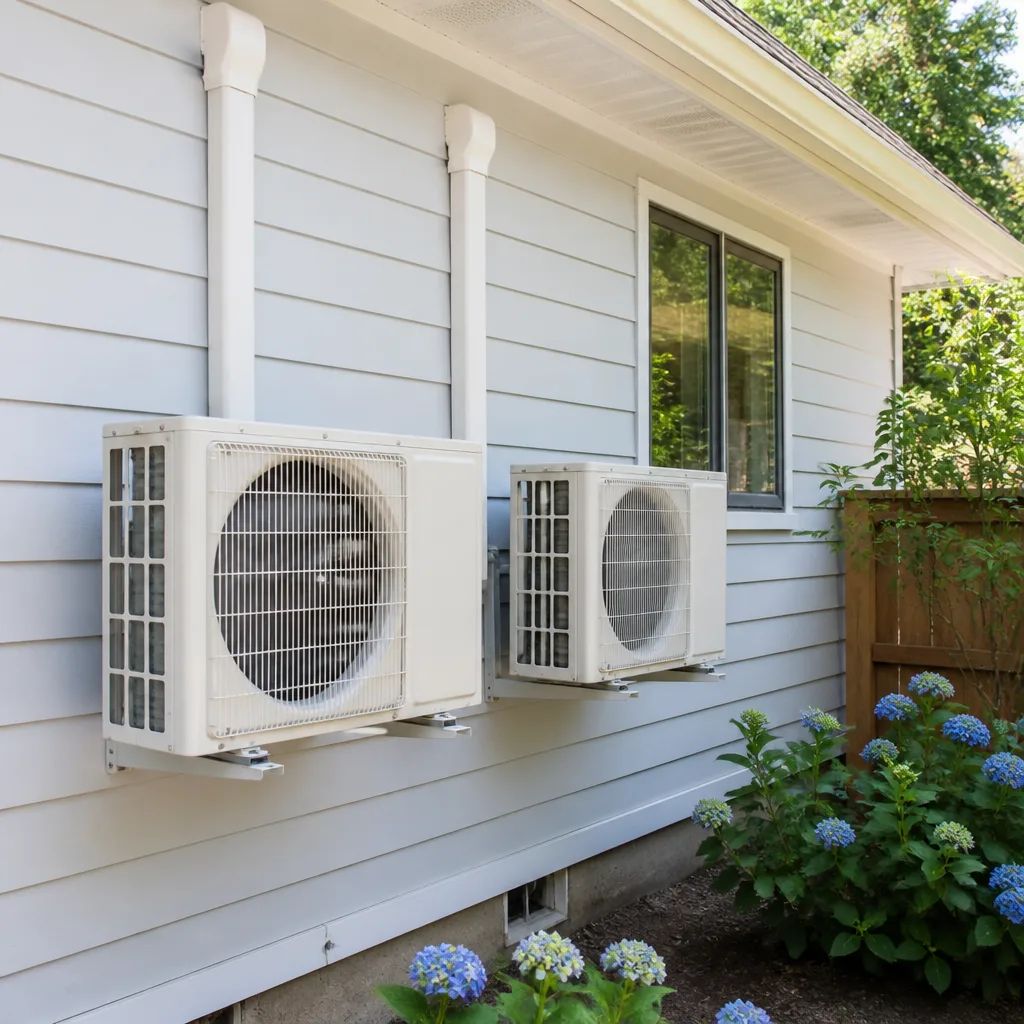 Ductless mini splits
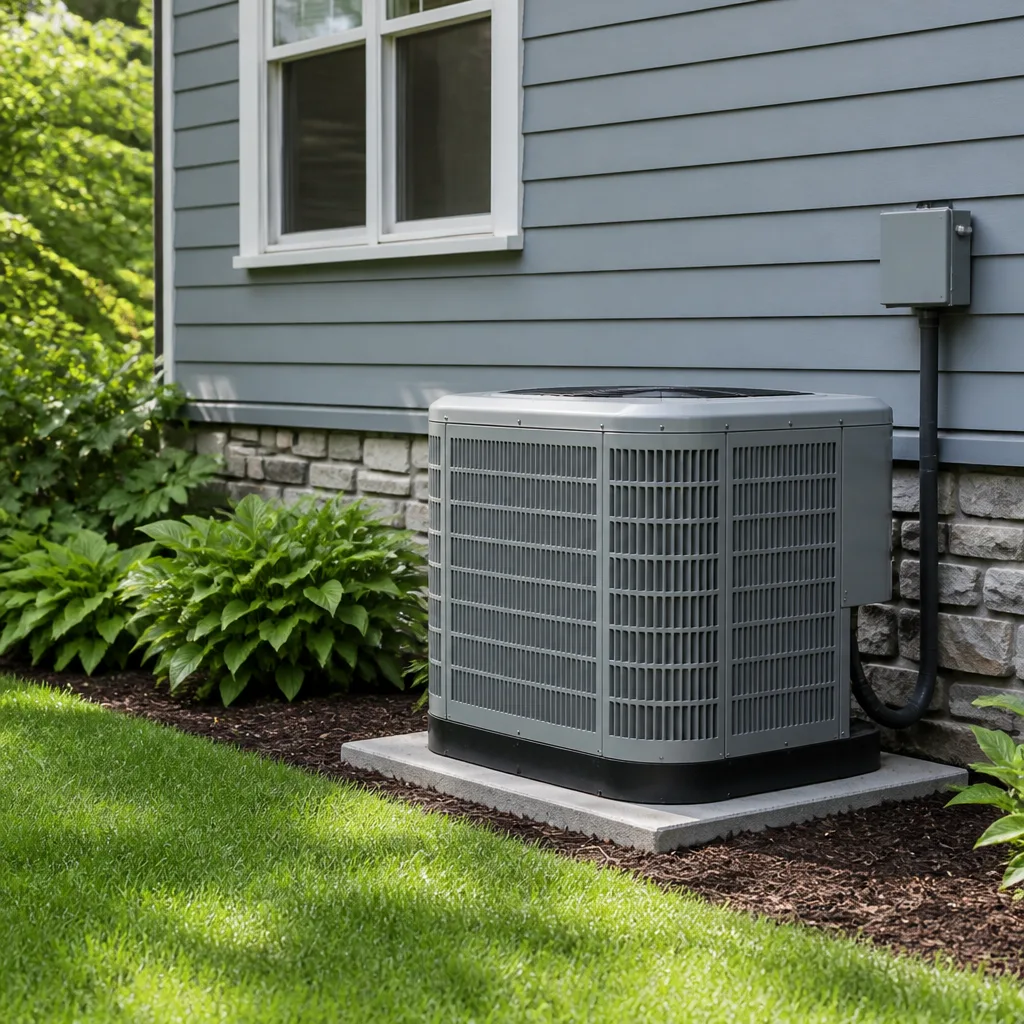 Carrier
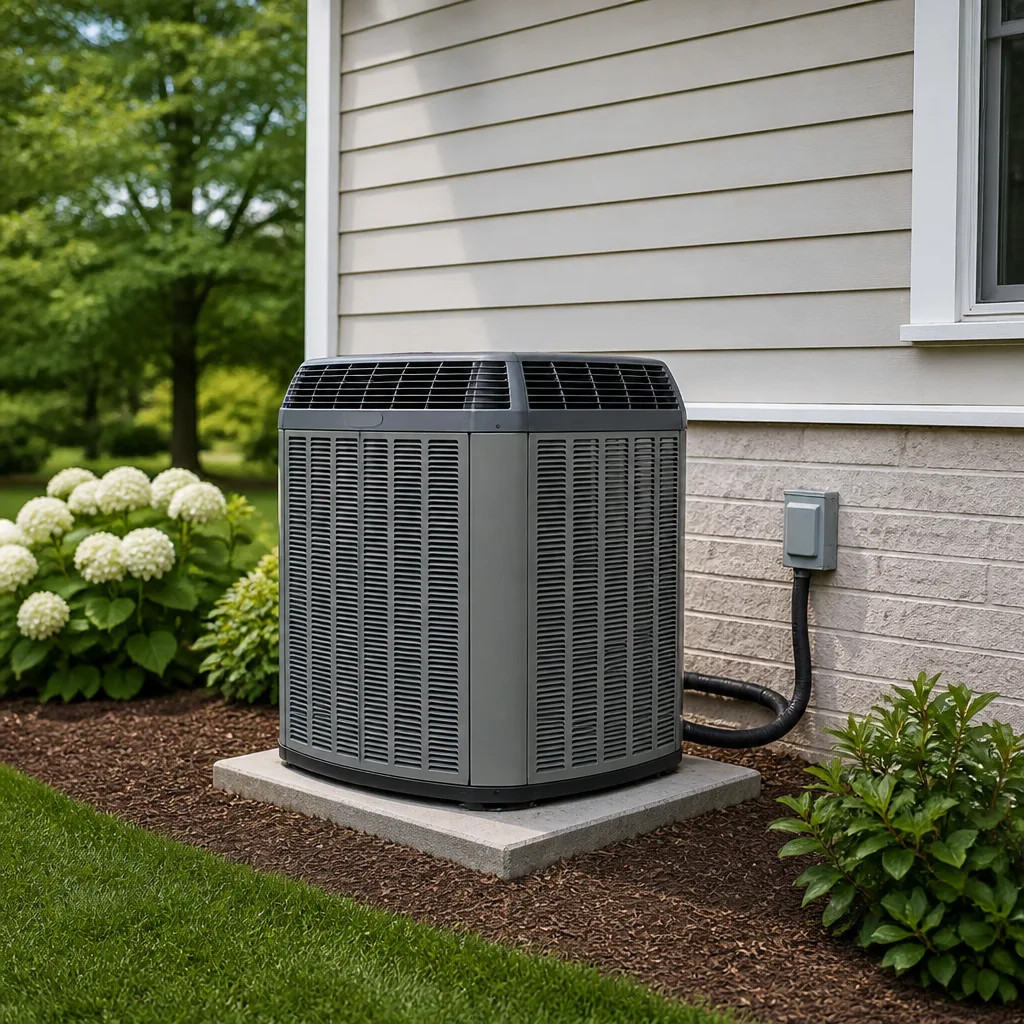 Trane
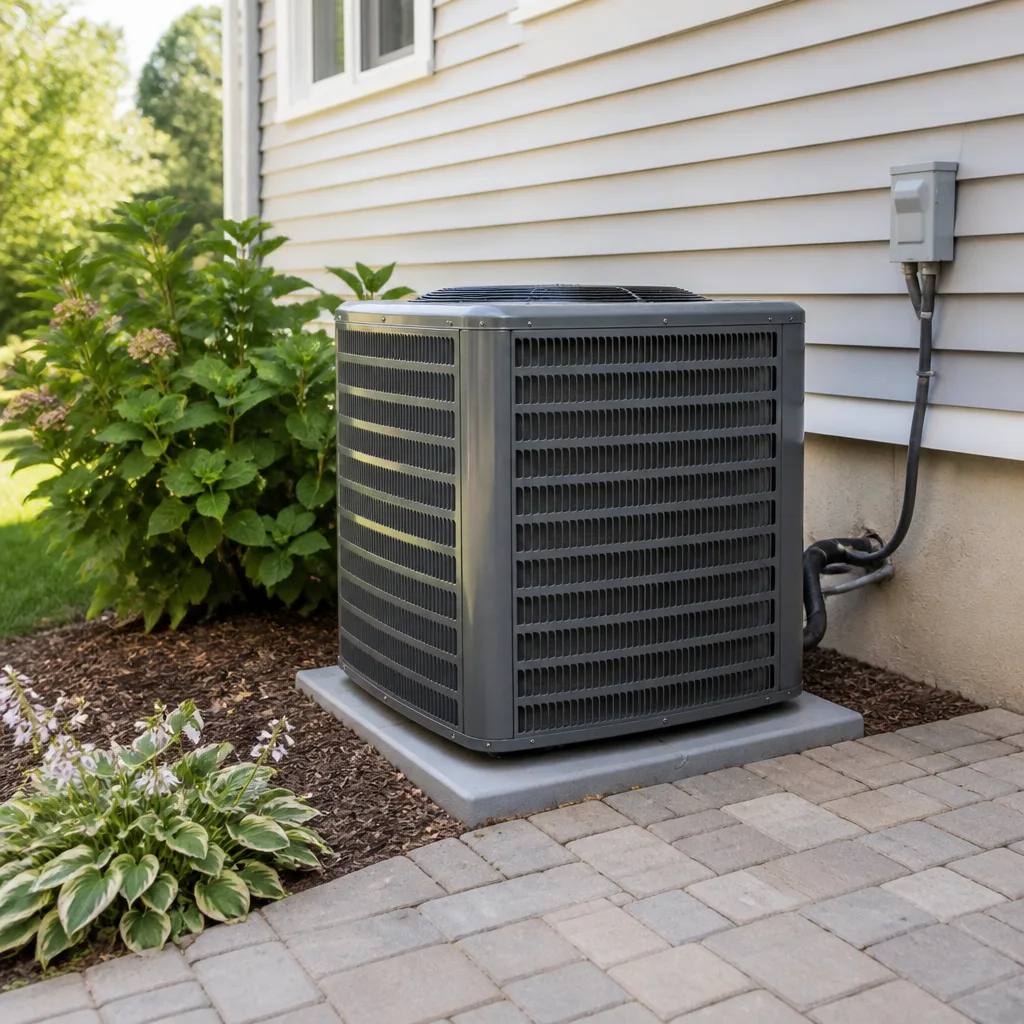 Goodman
Seasonal tune-up and full diagnostic on your Carrier, Trane, or Goodman system - readings shown to you before any repair is proposed
Diagnosis first, numbers second - you approve the repair price before a single part goes in.
Get your free estimateAC Installation Maintenance Checklist for Spring Hill Homeowners
A new air conditioner installed with undersized refrigerant line sets, an unchecked condensate trap, or an air handler dropped in without anyone measuring static pressure will underperform from day one. And here’s the part most homeowners don’t hear until something breaks: no manufacturer warranty covers installer error. The equipment can be perfect and the installation can still be wrong. Warranty protects the parts. Nobody’s warranty protects you from a sloppy install.
Most post-installation checklists floating around the internet are written to protect the contractor. This one is written to hold both sides accountable. It covers what you should personally witness on installation day, what to check at the 30-day mark, and what should happen at every annual service visit in Spring Hill’s specific operating conditions. Print it, bring it to the job site, and ask questions. A checklist you can hand to the technician is worth more than a warranty packet you’ll never read.
Quick Answer
A proper AC installation in Spring Hill isn’t finished when the unit turns on. It’s finished when refrigerant charge has been verified by superheat or subcooling method, static pressure has been measured and documented, the thermostat has been calibrated, condensate flow has been tested, and you’ve received a written load calculation and the permit paperwork. Then it needs a 30-day check to catch airflow and drainage problems, and annual service visits tuned to inland Florida conditions: pollen and dust on the coil, drain line treatment before heavy rain season, and a full electrical and refrigerant inspection.
Styles & brands we work with
- AC repair
- Furnace & heating
- Heat pumps
- Ductless mini splits
- Carrier
- Trane
- Goodman
Table of Contents
- What Should Be Verified on Installation Day?
- What Commissioning Checks Can You Witness Yourself?
- The 30-Day Follow-Up Checklist
- Annual Maintenance Items Specific to Spring Hill
- Red Flags That Justify Stopping the Job
- How to Document Everything in a Simple Home Binder
- Seasonal Timing: When to Schedule What
- Common Mistakes to Avoid
What Should Be Verified on Installation Day?
A correct installation day ends with a documented commissioning report, not just a running unit. Commissioning is the process of proving the system performs to its rated capacity in your actual home, and it’s where the gap between a good install and a bad one gets exposed. In our experience working Spring Hill homes, the systems that fail early almost always skipped a step here.
Here’s what should be verified before the installer packs up:
- Written load calculation (Manual J). The sizing math should exist on paper before equipment is ordered. If the old unit was 3 tons, that’s not a reason to install another 3 tons. Windows, insulation, ceiling height and orientation all changed the number.
- Permit pulled before work starts. Most Florida municipalities require a permit for a system changeout, and the inspection that follows is your independent verification. Ask for the permit number before the first screw comes out.
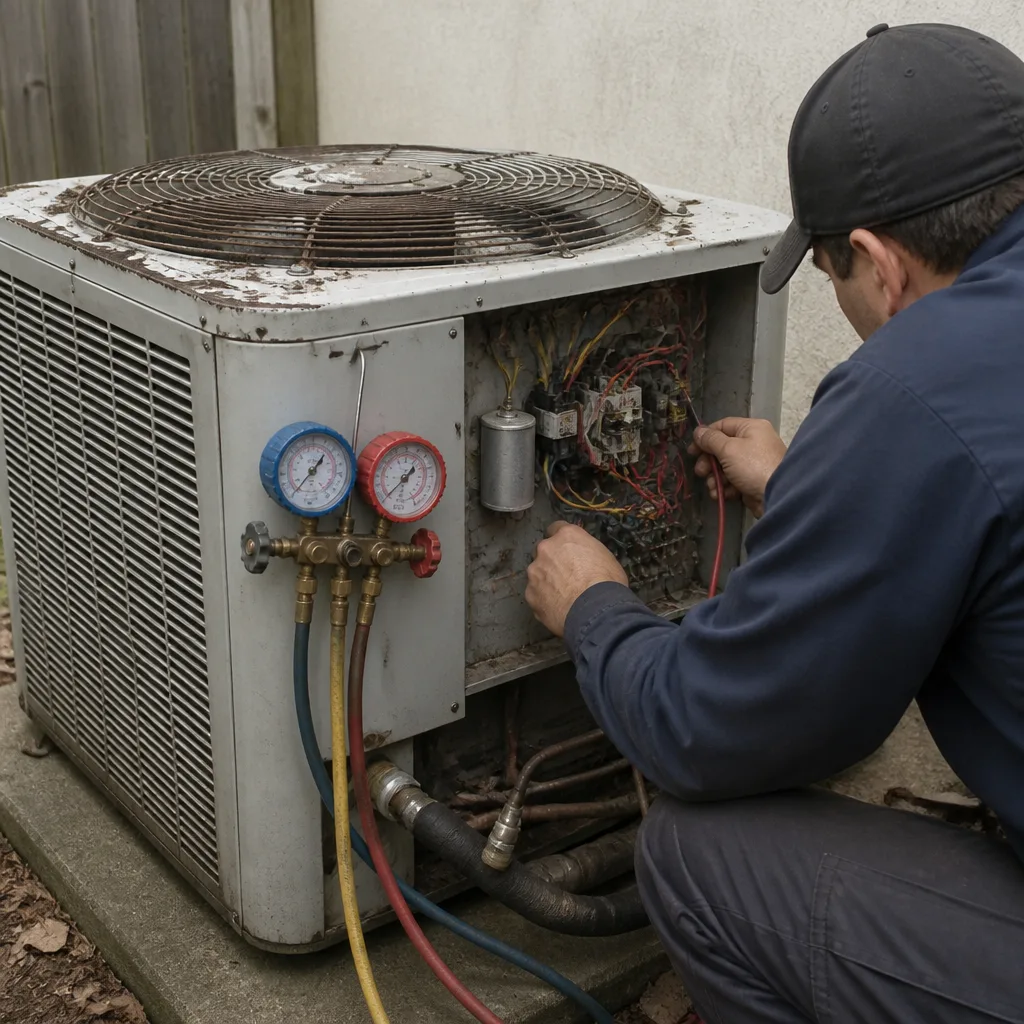
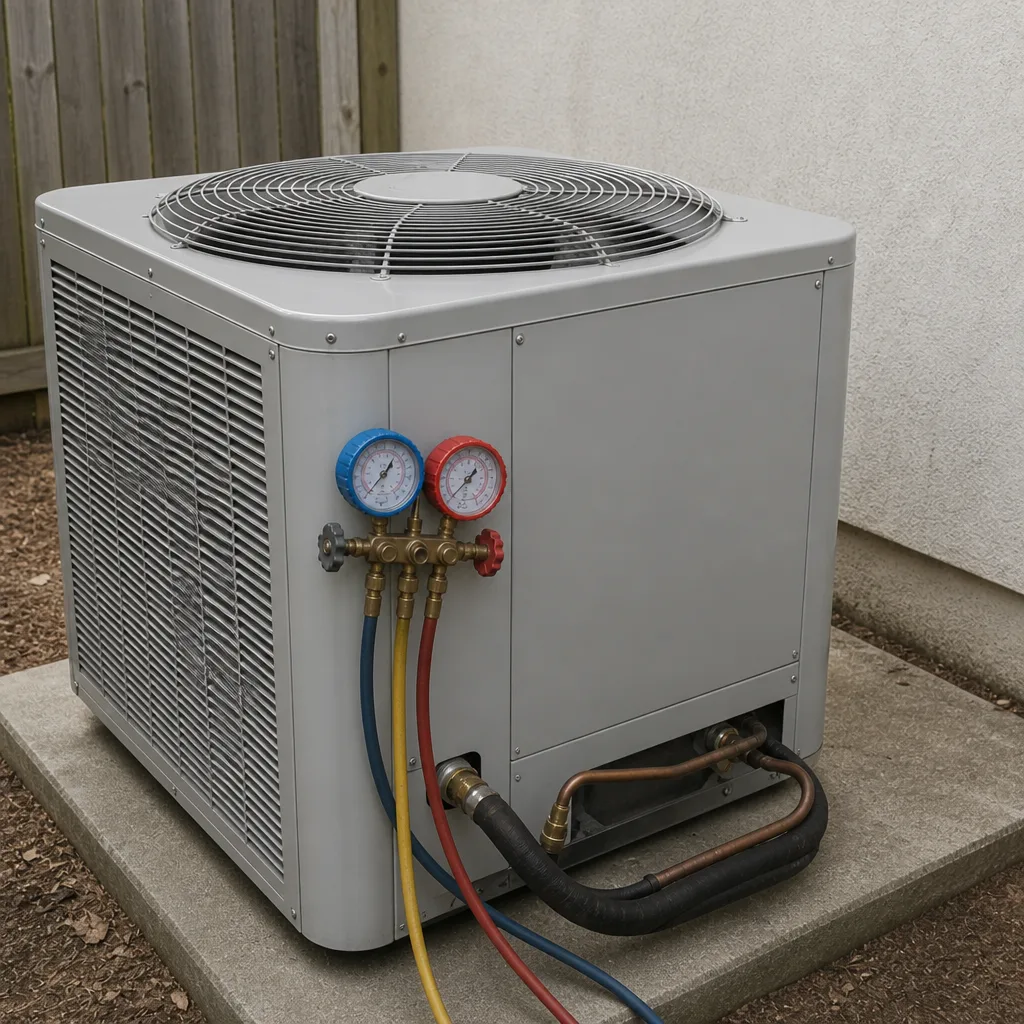
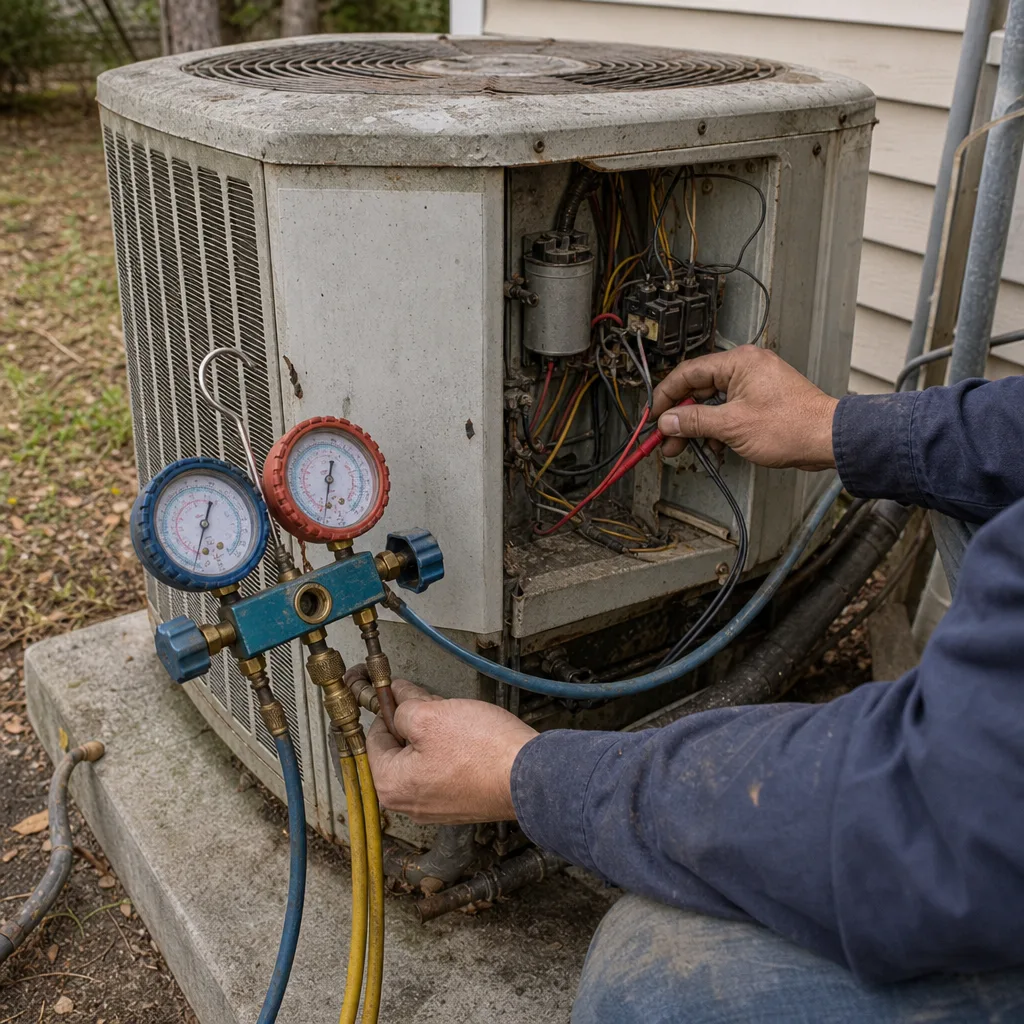
- Refrigerant charge verified by method. On a fixed-orifice system that means superheat. On a TXV system it means subcooling. “It’s cooling fine” is not a charge verification.
- Static pressure measured and recorded. Total external static pressure tells you whether the blower is fighting the ductwork. A reading outside the manufacturer’s range means the system will never deliver rated airflow, no matter how good the equipment is.
- Thermostat calibrated and configured. Cycle rate, fan settings, and staging all matter, and they need to match the equipment you paid for.
- Condensate flow tested end to end. Water should travel from the drain pan through the trap and out the discharge point while you watch.
- Line set vacuum held. The system should be evacuated and the vacuum should hold before refrigerant is released. Skipping or shortening this step traps moisture and air in the circuit.
- Electrical checked: breaker size, wire gauge, disconnect, and compressor amp draw compared to nameplate.
Ask for a copy of the commissioning readings. A contractor who tracks these numbers will hand them over without hesitation.
What Commissioning Checks Can You Witness Yourself?
You don’t need gauges to confirm the important checks happened. You need to be present and to ask one direct question per item. This is the difference between trusting a handshake and trusting a reading. Here’s how each check looks from the homeowner’s side of the job:
- Watch the vacuum pump run. A proper evacuation takes time, often a half hour or more depending on line set length and moisture. If the pump runs for five minutes and the refrigerant valve opens, ask why.
- Ask for the static pressure number. The technician should read it off a manometer and write it down. Ask what the manufacturer’s acceptable range is and where the reading falls. If nobody can answer, that’s information.
- Ask how charge was verified. The answer should be “superheat” or “subcooling,” followed by a number. Not “we weighed it in” alone, and definitely not “it feels cold.”
- Put a hand on the condensate line. After the system has run for a while, water should be visibly moving through the drain. A dry line or a line that gurgles and stops means the trap or slope needs attention.
- Watch the thermostat respond. Set it several degrees below room temperature and confirm the system starts within a minute or two and the display matches a separate thermometer.
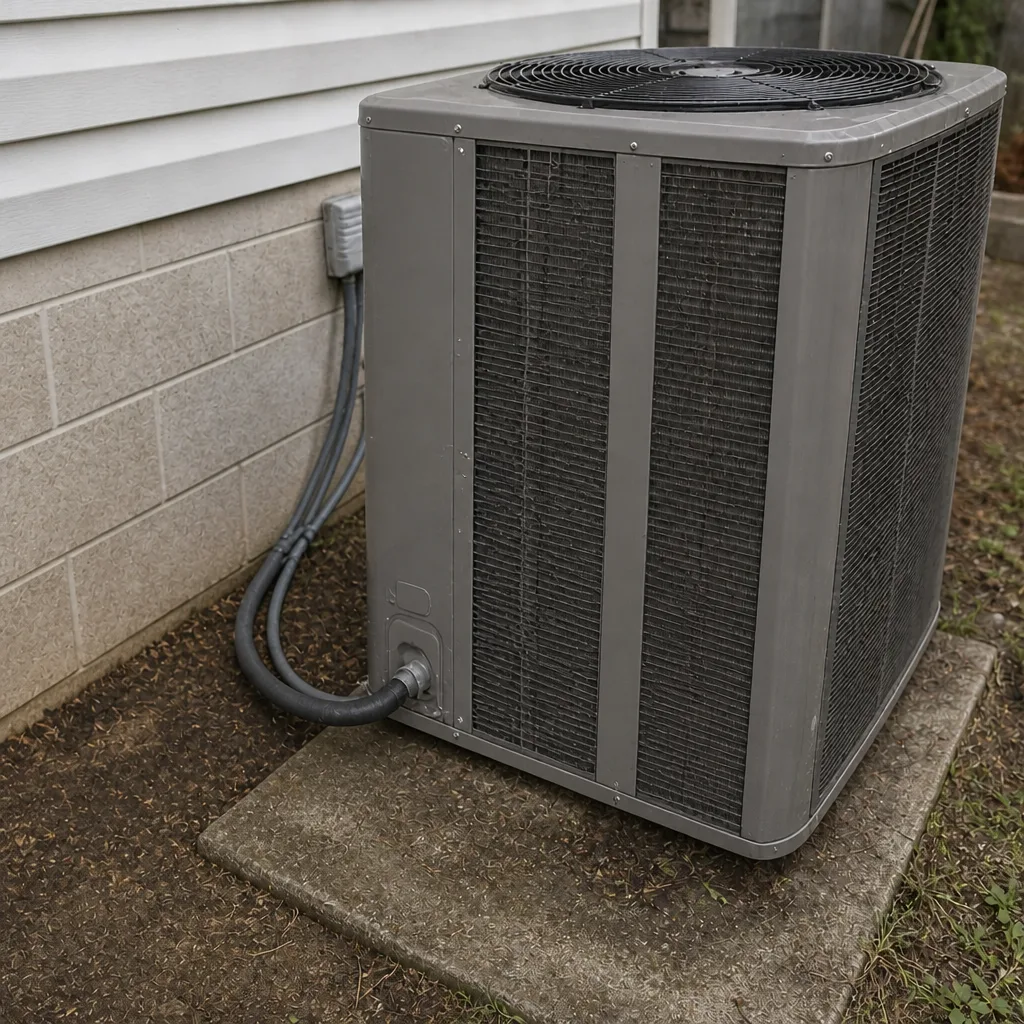
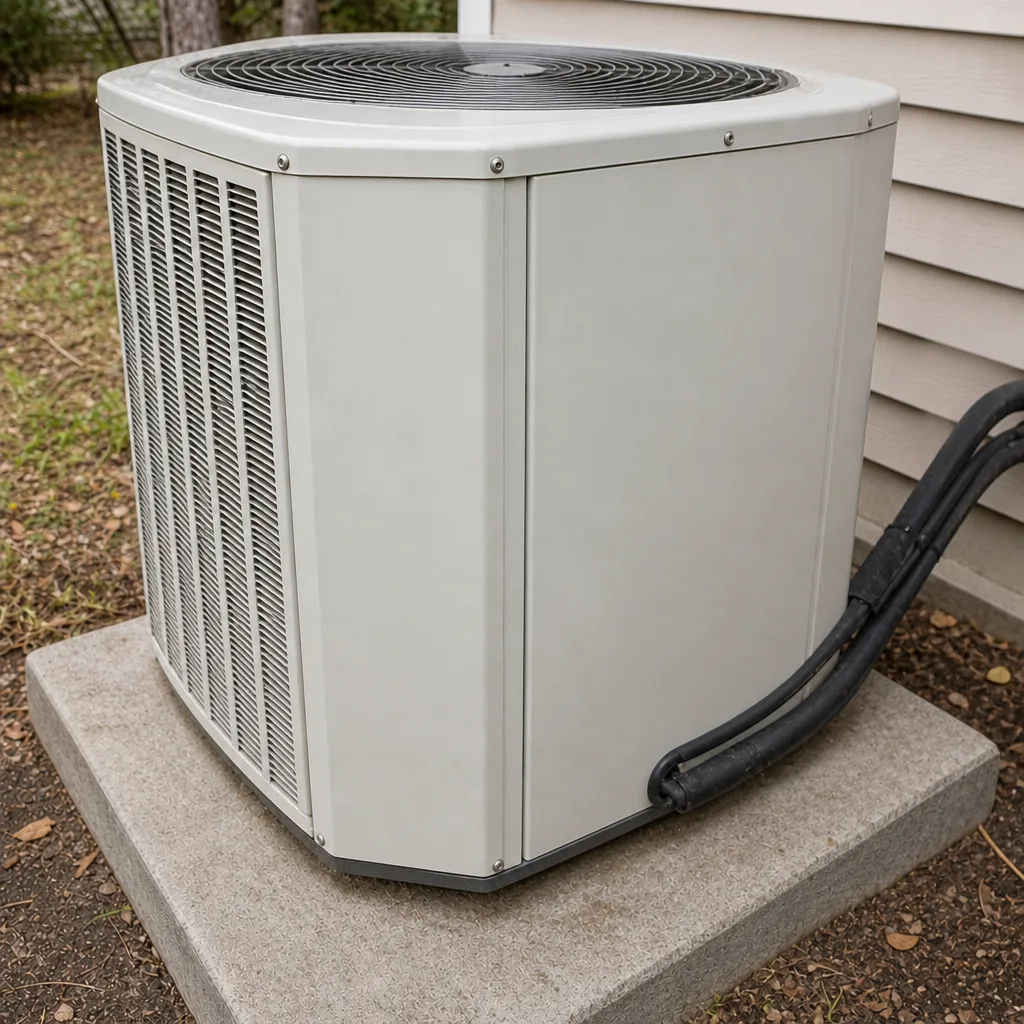
- Look at the outdoor unit placement. It needs clearance around the coil and enough room to breathe. A pad crammed against a wall or under a low deck will cost you efficiency every summer.
None of these require special tools. They require you to be home and to ask. Any reputable installer will walk you through each one, and the technicians we work with expect the questions.
The 30-Day Follow-Up Checklist
The first full month of operation in Florida heat is when installation mistakes show themselves. Airflow problems that seemed minor on a mild day become obvious when the system runs hard through a hot afternoon. Drainage issues that didn’t show during commissioning often appear after a week of steady runtime. Here’s what to check at the 30-day mark:
- Temperature split across the coil. Measure the air temperature at a supply register and at the return, and the difference should land in the range the installer documented. If it’s drifting, call for a check.
- Condensate drainage under load. Check the drain pan for standing water and confirm the discharge point is flowing. Standing water in the pan is the first sign of a trap or slope problem.
- Filter condition. Pull the filter and look at it. A filter that’s already loading up in 30 days tells you the return is undersized or the home is dustier than expected. Either way, you need to know now.
- Room-by-room comfort. Walk every room with the system running. Rooms that stay warmer than the rest usually point to duct leakage or a balancing issue, not equipment failure.
- Outdoor unit behavior. Listen for cycling that’s too frequent, and check that the fan spins freely and the coil isn’t already collecting debris.
- Thermostat accuracy. Compare the thermostat reading to a separate thermometer in the same room. A drift of a couple degrees means recalibration.
- Noise and vibration. New rattles, humming, or a blower that sounds different than it did on day one deserve a call.
Write down what you find, even if everything looks fine. A 30-day note with normal readings is valuable baseline data the next time something changes.
Annual Maintenance Items Specific to Spring Hill
Spring Hill sits inland, and that matters for your system. Inland dust and pollen load the outdoor coil faster than most homeowners expect, and the summer rain pattern means your condensate system works harder than in drier climates. Annual maintenance here isn’t a generic tune-up; it’s tuned to those conditions.
What should happen at each annual visit:
- Outdoor coil cleaning. Given the inland dust and pollen, the condenser coil should be washed at least once a year, and more often if you’re near open ground or a lot of landscaping. A dirty coil raises head pressure and shortens compressor life.
- Drain line treatment before heavy rain season. The condensate line should be flushed and treated so it’s clear going into the wettest months. A clogged drain during a heavy rain stretch is one of the most common service calls in Spring Hill.
- Refrigerant charge check. Even a small leak shows up as a charge drift. Verifying charge annually catches it before the compressor runs hot for a season.
- Electrical inspection. Capacitors, contactors, and wire connections should all be checked. Heat and age wear these parts out quietly.
- Blower and static pressure recheck. Ductwork and filters change over a year. Rereading static pressure confirms the system is still moving the air it should.
- Blower wheel and evaporator coil inspection. Dust accumulation on the indoor coil cuts capacity. A look with a flashlight confirms whether cleaning is due.
One thing worth knowing about how we work: our technicians aren’t paid on what they sell. When we recommend a part, it’s because the reading said so. That’s the standard this checklist assumes.
Red Flags That Justify Stopping the Job
Some installation problems can’t be fixed later without tearing out work. These are the ones where stopping the job is the right call, and it’s better to have that argument on installation day than on the phone a year later.
- No vacuum held on the line set. If the system gets charged without a proper evacuation, moisture and non-condensables are in the circuit permanently. That’s a compressor problem waiting to happen, and no warranty covers installer error on the evacuation.
- No written load calculation. If nobody can produce the Manual J sizing before equipment selection, the unit may be oversized or undersized for your home. Oversized systems short-cycle, which means poor humidity control in a Florida summer.
- No permit pulled before work starts. Most cities require one for a changeout. A contractor who skips it is skipping the inspection that would catch the mistakes on this list.
- Refrigerant line set the wrong size or reused when it shouldn’t be. Undersized line sets restrict flow and force the compressor to work harder. Line size should be matched to the new equipment, not the old unit.
- No static pressure measurement, or refusal to show it. This is the single most useful number on the entire commissioning report. If it wasn’t taken, airflow problems were never diagnosed.
- Condensate trap missing, undersized, or not sloped correctly. A trap that doesn’t work floods the pan, damages the ceiling, or shuts the system down in the middle of a heat wave.
- No documentation offered. If there’s no paperwork coming, there’s no way to know what was actually done.
You don’t need to be a technician to catch any of these. You need to know the questions and to be willing to ask them before final payment.
How to Document Everything in a Simple Home Binder
The single best thing you can do for the long-term health of your HVAC system is keep one physical binder with every piece of paper and photo related to it. Every future service call is faster, cheaper, and more accurate when the technician can see what was installed and how it performed on day one.
What goes in the binder:
- Model and serial numbers for the outdoor condenser, indoor air handler or coil, and thermostat. Photograph the nameplate labels and keep both the photos and a written copy.
- Installation date and the installer’s name (company, not an individual), plus the permit number and inspection result.
- The written load calculation and equipment selection sheet.
- Commissioning readings: static pressure, superheat or subcooling, thermostat settings, condensate test result, electrical amp draw.
- Your 30-day notes and any annual service reports.
- Filter size and replacement dates, so you never guess at the store again.
- Every service call: date, what was checked, what was found, what was replaced.
- Warranty paperwork for the equipment, filed in the same binder.
A future technician who opens that binder can diagnose faster and avoid repeating work. It also protects you: if a warranty claim comes up, the documentation proves the commissioning was done properly. Whether your system is a Carrier, a Trane, or a Goodman, the binder looks the same.
Seasonal Timing: When to Schedule What
Timing matters, and the mistake most homeowners make is waiting until the system fails. Florida’s cooling season is long, and the smartest schedule works backward from the hottest months.
- Before the hot season: spring is the right time for the annual service visit. Coil cleaning, drain treatment, charge check and electrical inspection done before the system starts working hard all summer.
- Before the rainy stretch: drain line treatment should be scheduled ahead of the heaviest rain months, when a clogged condensate line gets noticed fastest and hurts the most.
- Mid-summer: a light check-in if anything seems off. Temperature split, filter, and any new noise.
- Fall: if your home has a furnace as part of a split system, this is when the heating side gets its service. We cover furnace repair and replacement, so a single call handles both sides.
- Before replacement decisions: when the system is older and the repair bills are climbing, an honest assessment is worth more than another patch. Our AC installation process starts with a load calculation, not a sales pitch.
If you’re not sure where your system stands, the answer usually comes from the paperwork in your binder. If there isn’t one yet, that’s the first thing to fix.
Common Mistakes to Avoid
- Trusting “it’s cooling” as proof of a correct install. A system can cool while running on an incorrect charge or against high static pressure. The numbers on the commissioning report are the proof, not the temperature on the thermostat.
- Skipping the written load calculation to save a step. Sizing by square footage or by the old unit’s tonnage is a guess. An oversized system in a Spring Hill summer short-cycles and leaves the house humid.
- Letting the installer reuse the old line set without checking size. The new equipment may need a different line size than what’s in the wall. Reusing the wrong size limits flow and stresses the compressor.
- Not being home on installation day. Every check on this list depends on you being present to ask. Schedule the install for a day you can be there.
- Ignoring the condensate system until it leaks. The drain line deserves attention before heavy rain season, not after the ceiling stain appears.
- Throwing away the commissioning report. That sheet of readings is the baseline every future diagnosis depends on. Keep it in the binder.
- Skipping the 30-day check because everything seems fine. Airflow and drainage issues show up under load. Thirty days of runtime is when they surface, and catching them early is cheap.
See the difference
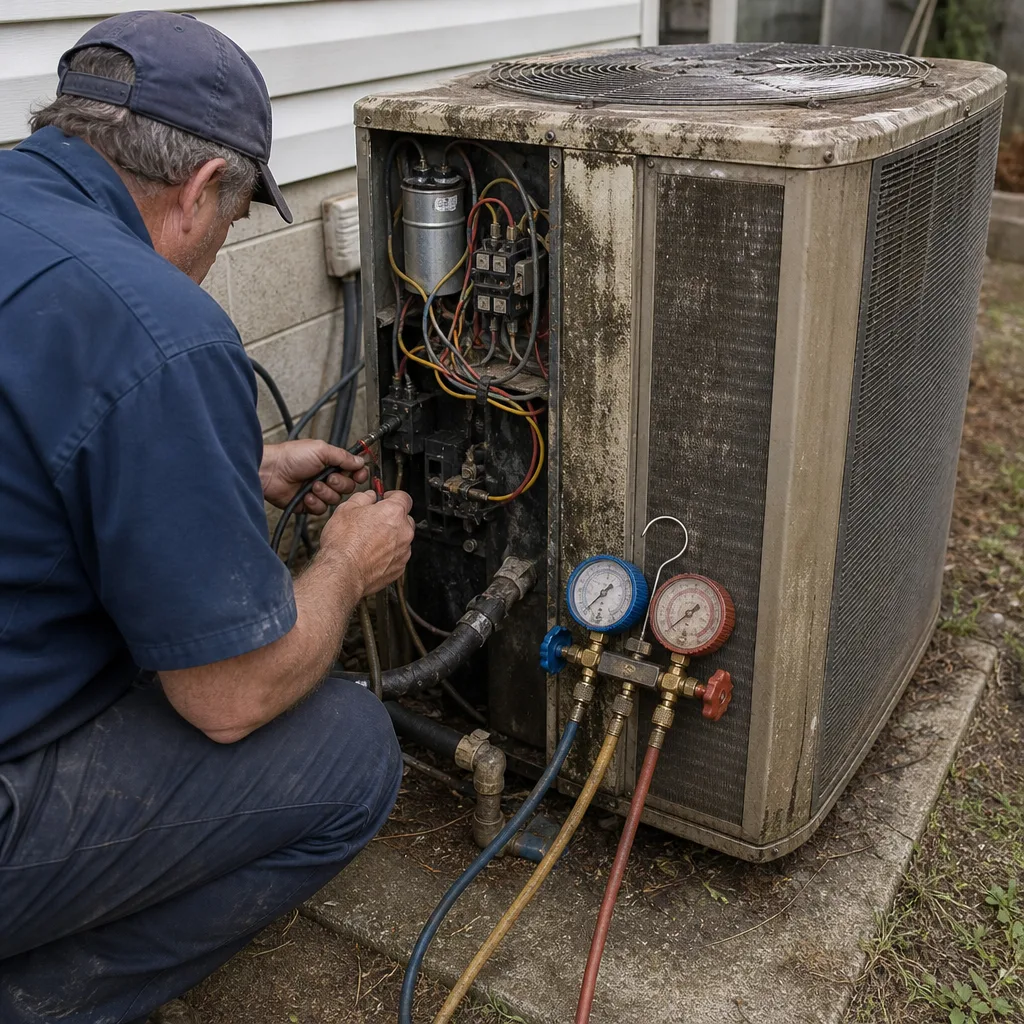 Before
 After
 Before
 After
 Before
 After
When to Call a Professional
Call a professional when the system won’t hold temperature, when the condensate pan has standing water, when you hear new noises from the outdoor unit, or when the thermostat and the room disagree by more than a degree or two. Call if the temperature split across the coil has drifted from what the installer documented, or if a room-by-room walkthrough shows rooms falling behind. Call before heavy rain season if the drain line hasn’t been treated this year. And call before making any replacement decision based on a repair estimate; an honest assessment with a load calculation is worth more than a second opinion from a contractor who only sells one brand.
Ironside AC Repair offers free estimates in Spring Hill – call (833) 946-7618. We answer 24/7. Fast dispatch from 7am to 7pm, Sunday through Friday.
Frequently Asked Questions
A standard residential changeout takes most of a working day, and commissioning adds time on top of that. A system that’s started up in an hour or two almost certainly skipped the vacuum hold, static pressure measurement, or charge verification. Ask for the commissioning report before the installer leaves, and don’t accept “we’ll email it later” as the final answer.
Most cities require a permit for a system changeout, and the inspection that follows is your independent proof the install was done to code. Ask for the permit number before work starts and confirm the inspection result afterward. If a contractor suggests skipping the permit, that’s a red flag worth taking seriously. Call (833) 946-7618 for a free estimate.
The outdoor condenser coil should be cleaned at least once a year, and more often if you’re near open ground or heavy landscaping. Inland dust and pollen accumulate faster here than in coastal or wooded climates, and a dirty coil raises system pressure and shortens compressor life. Indoor coil cleaning depends on filter discipline and dust levels; a flashlight inspection at each annual visit tells you when it’s due.
Superheat and subcooling are the two methods used to verify refrigerant charge, and which one applies depends on the metering device in your system. Superheat is used with fixed-orifice systems; subcooling is used with TXV systems. You should care because “it’s cooling fine” is not a charge verification, and an incorrect charge is one of the most common installation errors. Ask which method was used and what the reading was.
Repair makes sense when the system is otherwise healthy, the repair cost is reasonable against the remaining life of the equipment, and the readings from a service visit show the rest of the system is sound. Replacement makes more sense when repairs are stacking up, the system can’t hold temperature, or the equipment is at the end of its expected life. Anyone recommending replacement should start with a load calculation, not a sales sheet. Call (833) 946-7618 for a free estimate.
We work on equipment from nine of the most widely installed HVAC brands in North America, including Carrier, Trane, Lennox, Goodman, Rheem, York, Daikin, Bryant, and American Standard. That means virtually no homeowner gets turned away because of the equipment in their home. Whether your system is a premium brand or a value brand, the checklist on this page applies the same way.
The Bottom Line
A new AC unit is only as good as the installation behind it, and the manufacturer warranty doesn’t cover installer error. The checklist in this guide is your way to hold the job accountable: verify the load calculation and permit before work starts, watch the commissioning checks on installation day, follow up at 30 days, and schedule annual service tuned to Spring Hill’s inland dust and heavy rain seasons. Keep everything in a binder. Document the readings, not just the repair. And if a contractor balks at any of these questions, that’s an answer in itself. When you’re ready for a system that’s installed and serviced to this standard, Ironside AC Repair covers cooling and heating under one roof. Call (833) 946-7618 for a free estimate. We answer 24/7. Fast dispatch from 7am to 7pm, Sunday through Friday. Our technicians have up to experience.
Written by the team at Ironside AC Repair.